1
Let’s talk some more about texturing, this time working with an interface style image over several layers. Photoshop 6 layer styles allow us to do some fantastic effects with patterns, and I want to address some of those effects here. What better way to do that than to show you first hand?
For this example I’ll be using a pattern group you may download free from Action Fx. Here’s the link:
http://actionfx.com/downloads/Textures/AFX-22.zip
Here’s the new image specs:
Width= 8 in
Height= 8 in
150 DPI
RGB
Background= White
This image is going to be large, so I’ll only be displaying the pertinent areas for the examples.
2

First, let’s fill the background with black. Create a new layer and, with the circular marquee tool, create a round selection that takes up most of the image. Fill this selection with 50% gray. Create another smaller selection (circular) inside of the larger circle. We want to make a large ‘O’ with a fairly thick border. Delete the contents of the smaller circle.
3
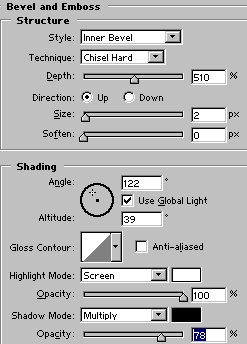
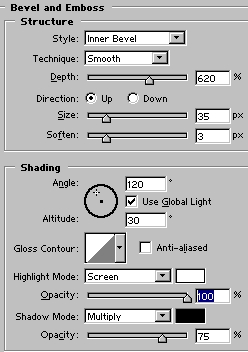 Ok, let’s bevel this puppy. Go to your layer styles, and use settings close to these:
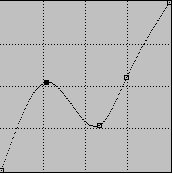
We want a bit more ‘metal’, and rather than tweaking the layer style contours, we will use a good old fashioned curve. Create a new layer beneath this one, select the circle layer and Command/Control+E to merge the 2. Go to Image>Adjust>Curves, and enter something close to this:
5
Here is the result as seen on our beveled circle:
I’ll tell you a little secret. That same curve structure is what all these interface developers are using. What do I mean? Well, let’s see what happens when we apply this to a light gray to dark gray sphere:
6
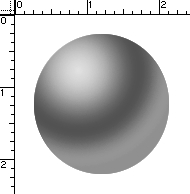

That was pre-curve. Here’s post-curve:
You may need to tweak it a bit, but the effects are similar.
7
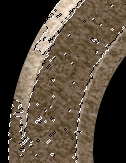
 Ok, back to the circle. First, duplicate the circle layer, make the top layer invisible and select the lower layer. After you have downloaded the pattern set, load it into the layer styles and apply the pattern shown in the example to this layer. Here are my settings:
Here’s the effect:
8
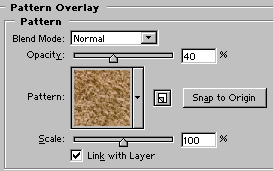 Leave that layer alone for a minute. Select the top layer, and appy another pattern to it, lowering the opacity to about 40%.
9
 Create a layer beneath this one, select the top layer and again merge down. Using either the magic wand or color selection option, we want to select only portions of this layer.
Once you have your selection, delete it.
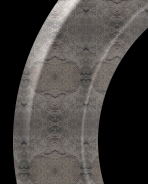
Now apply a bevel to this layer. We want to draw out the contrast between the layers, so that it appears some corrosion has occurred on our metallic wheel.
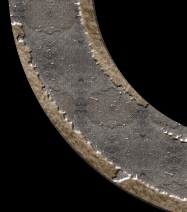 Here’s the result:
That’s really all I have time for this week, but I promise we will continue with the same image next time. What is cool about this is that everything we have done can be incorporated in an action, as well as separate layer styles can be created for the layer effects. We will work on developing this project next time, however. Until then, come see me at Action Fx!
Comments
Powered by Facebook Comments
